In this Step by Step guide, I’ll take you through the three steps you’ll need to go through to set up a new App + Web Property in Google Analytics. If you haven’t checked out my first post which goes into a detailed overview of this new property, I’d suggest stopping there first before continuing on with this article.
First things first, for now (at least while it’s still in Beta), you’ll first need to create a Firebase project, and link to Google Analytics in order to get the new property to show up in Google Analytics.
Step 1: Create a Firebase Project
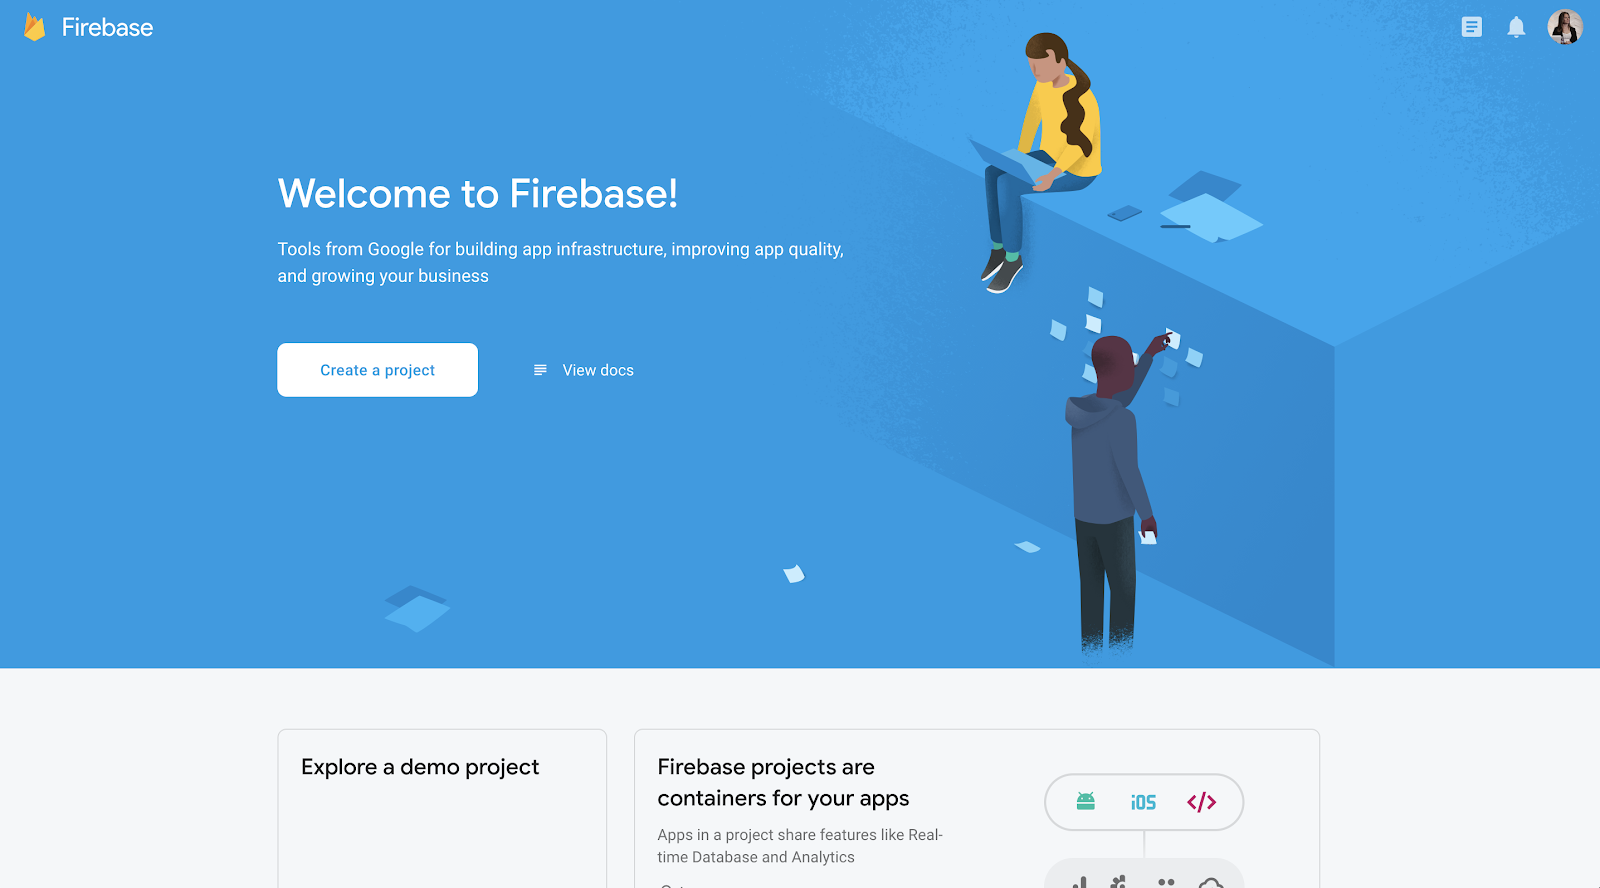
Start by going to console.firebase.com to either log into your Firebase account, or to get started creating your first project. To create a new project, Click ‘Create a project’. This will then take you through a quick, 3 step flow to create your Firebase project.
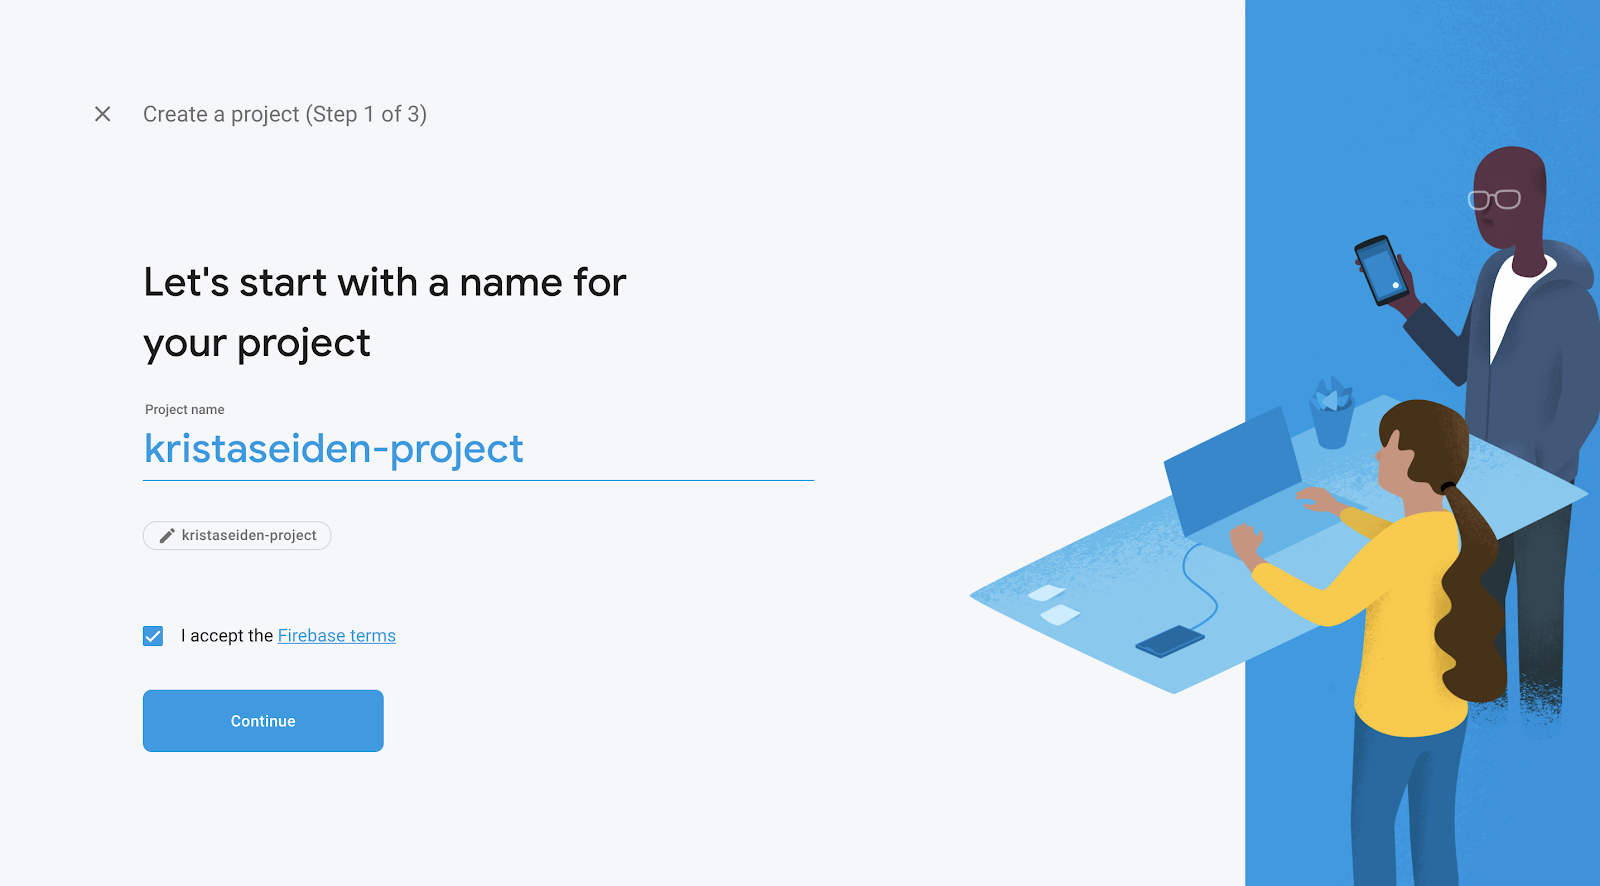
Step 1.1 – give your Firebase project a name. In this case, I’m going to name it the name of my blog + project to indicate it’s a linked Firebase project.
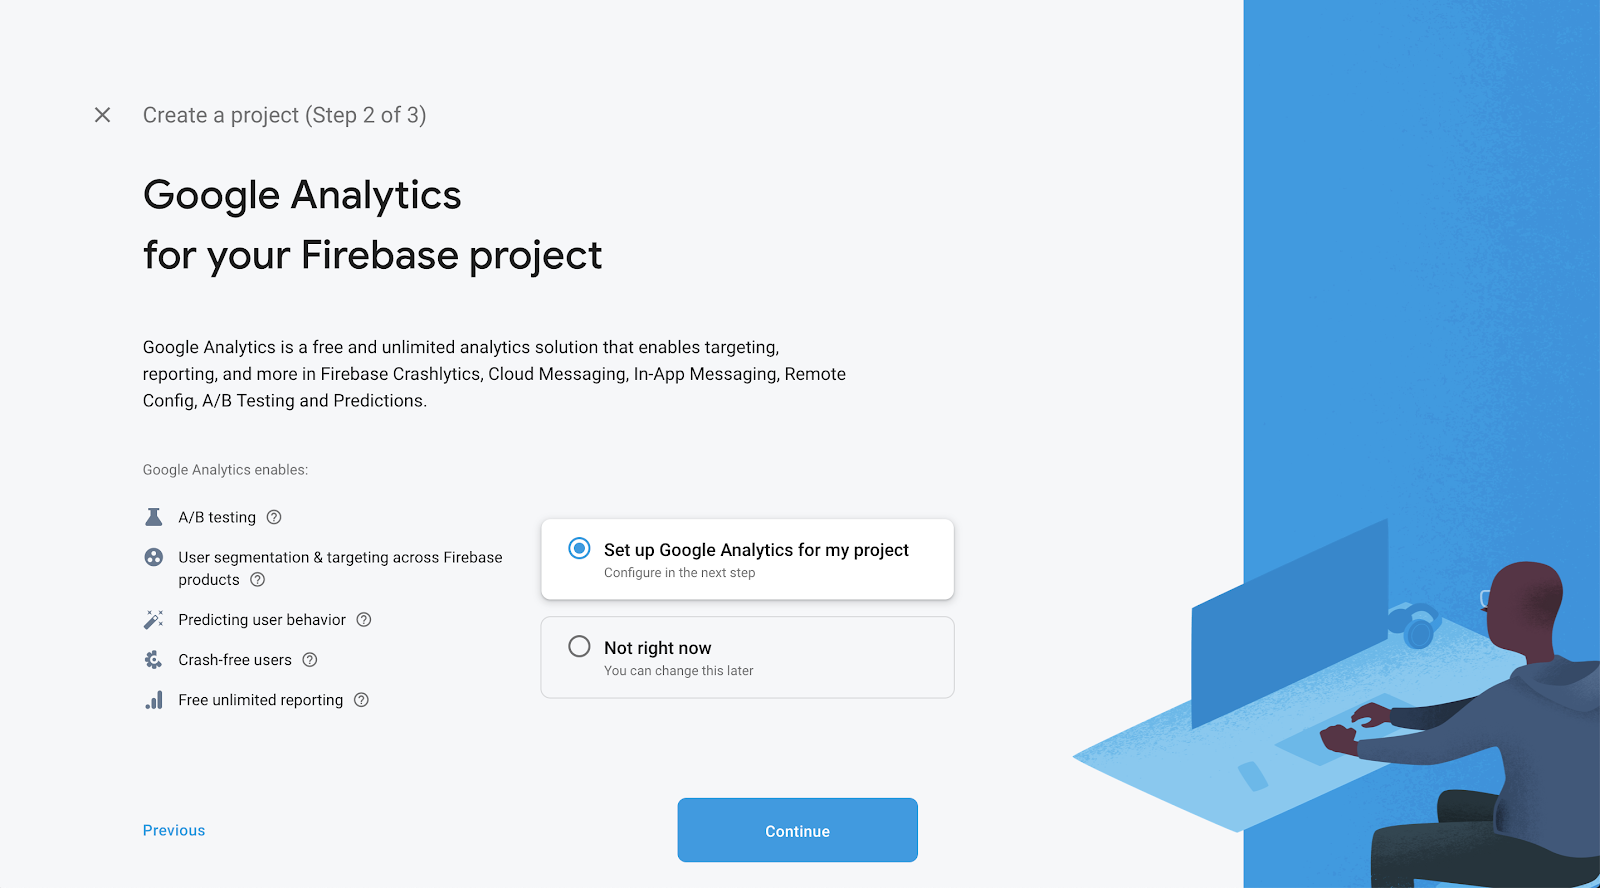
Step 1.2 – Link to Google Analytics. Note this is the recommended, but not required step to create a Firebase project. You can toggle away from “Set up Google Analytics for my project” to “Not right now” if you just want to use this project on the Firebase side. However, since we’re looking to create a project that will be used in Google Analytics for an App + Web property, we want to be sure to leave it on the default to set up GA for the project.
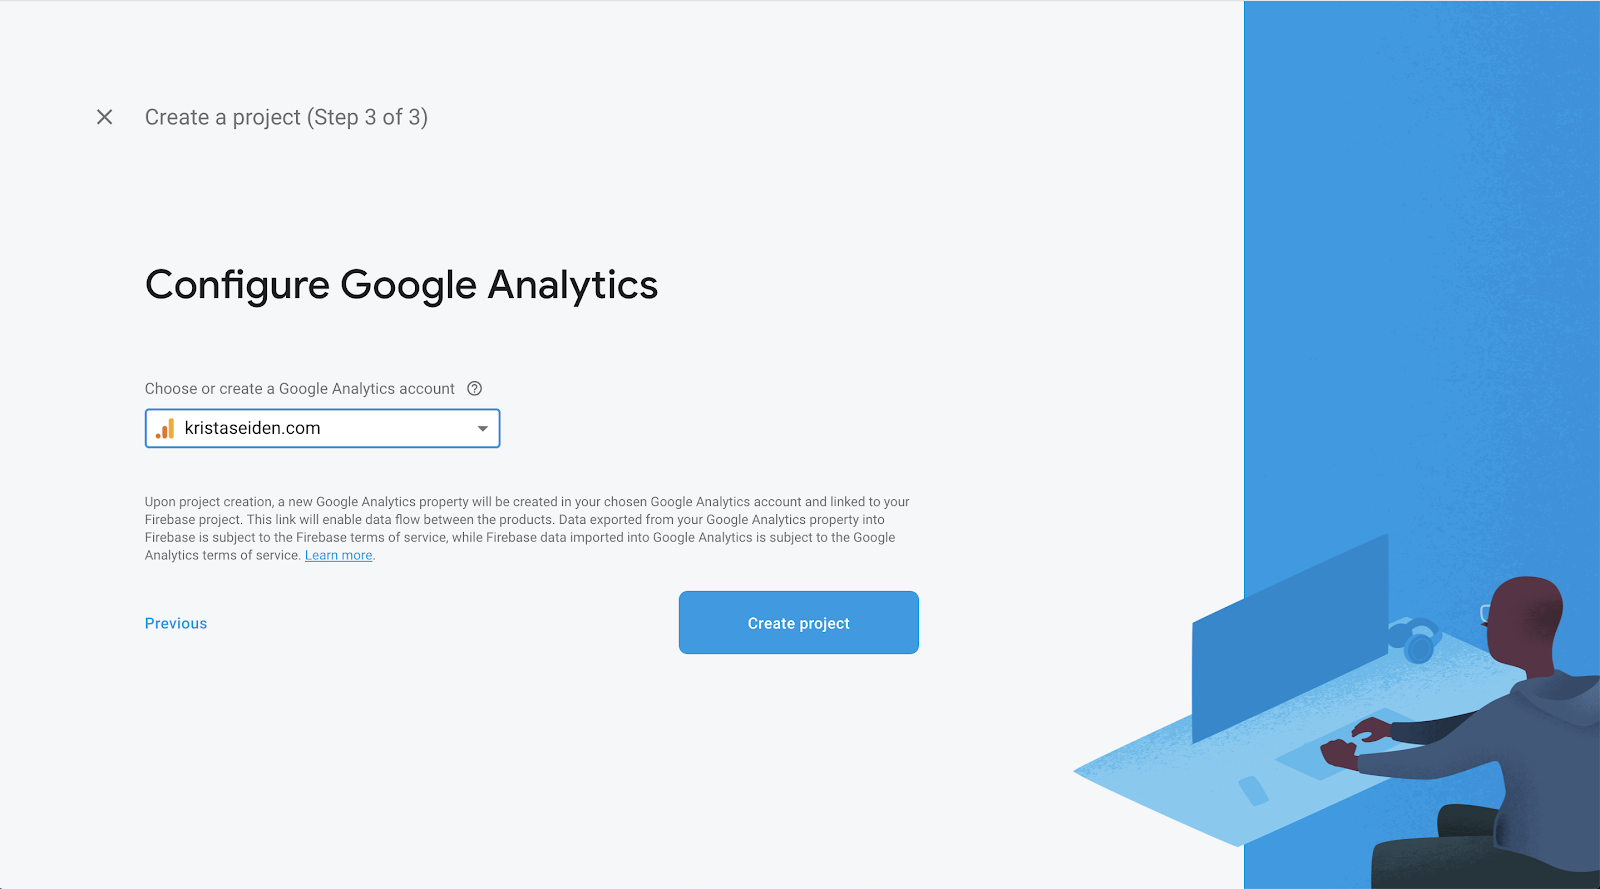
Step 1.3 – choosing to set up GA for the project will take you to the last step, which is to choose the Google Analytics account you want this new project/property to show up in. In this case, I’m going to choose to set it up in my main blog Google Analytics account. Note that all Google Analytics accounts that you have admin access to will show up in this dropdown to select from. If you don’t have any, it will create a new one for you. Once you select an account, you can click “Create project”
Once you hit “Create project”, it will take a few seconds, and then you’ll see this confirmation screen indicating that you’re good to go.
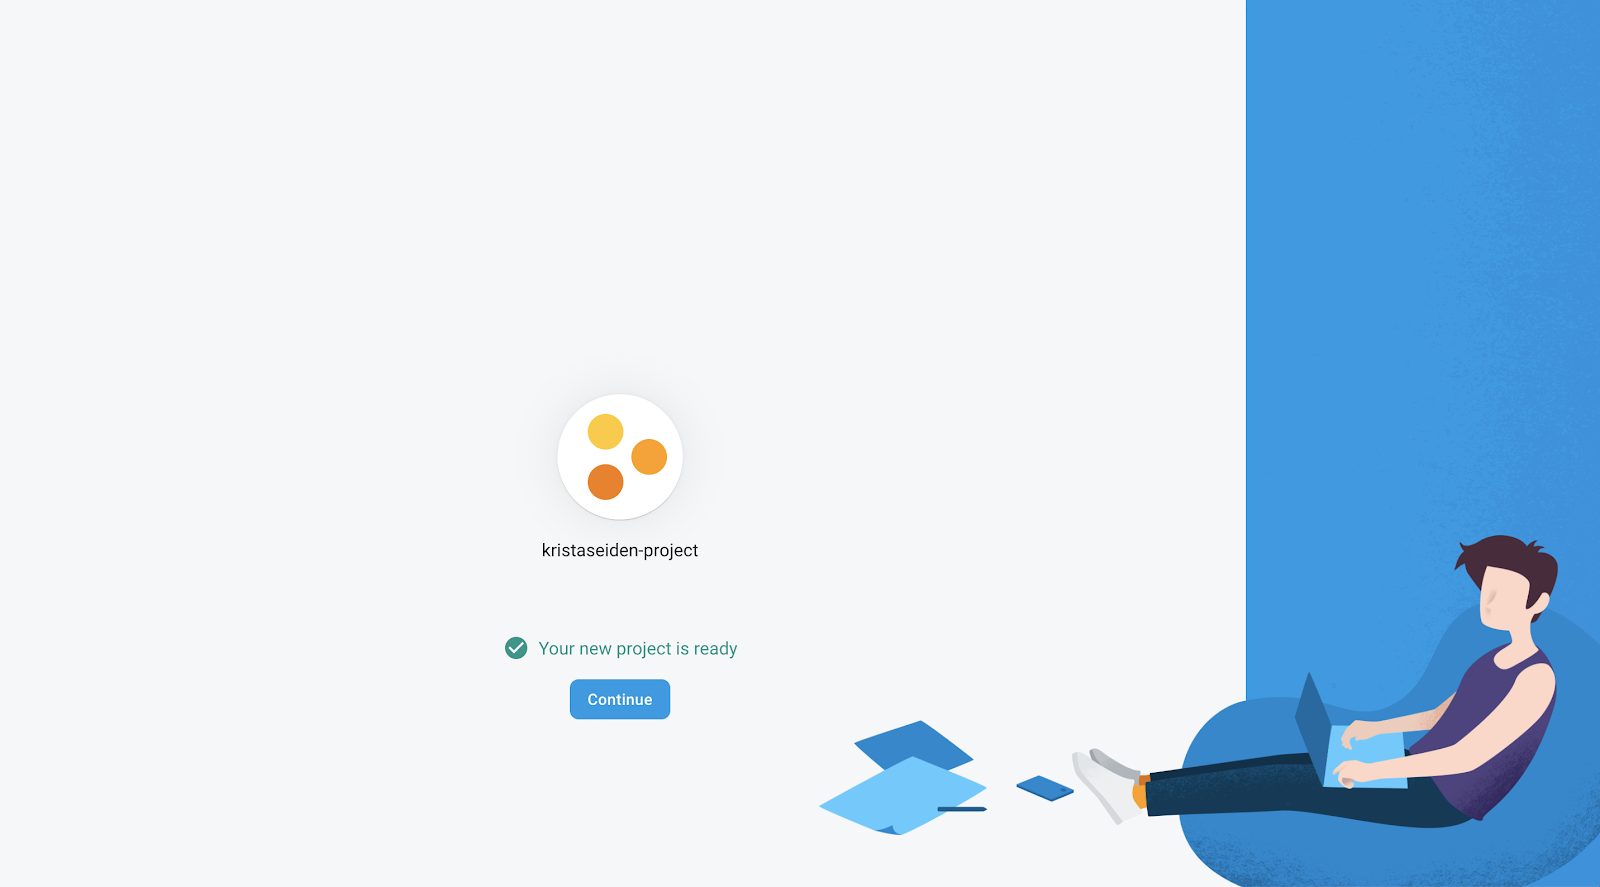
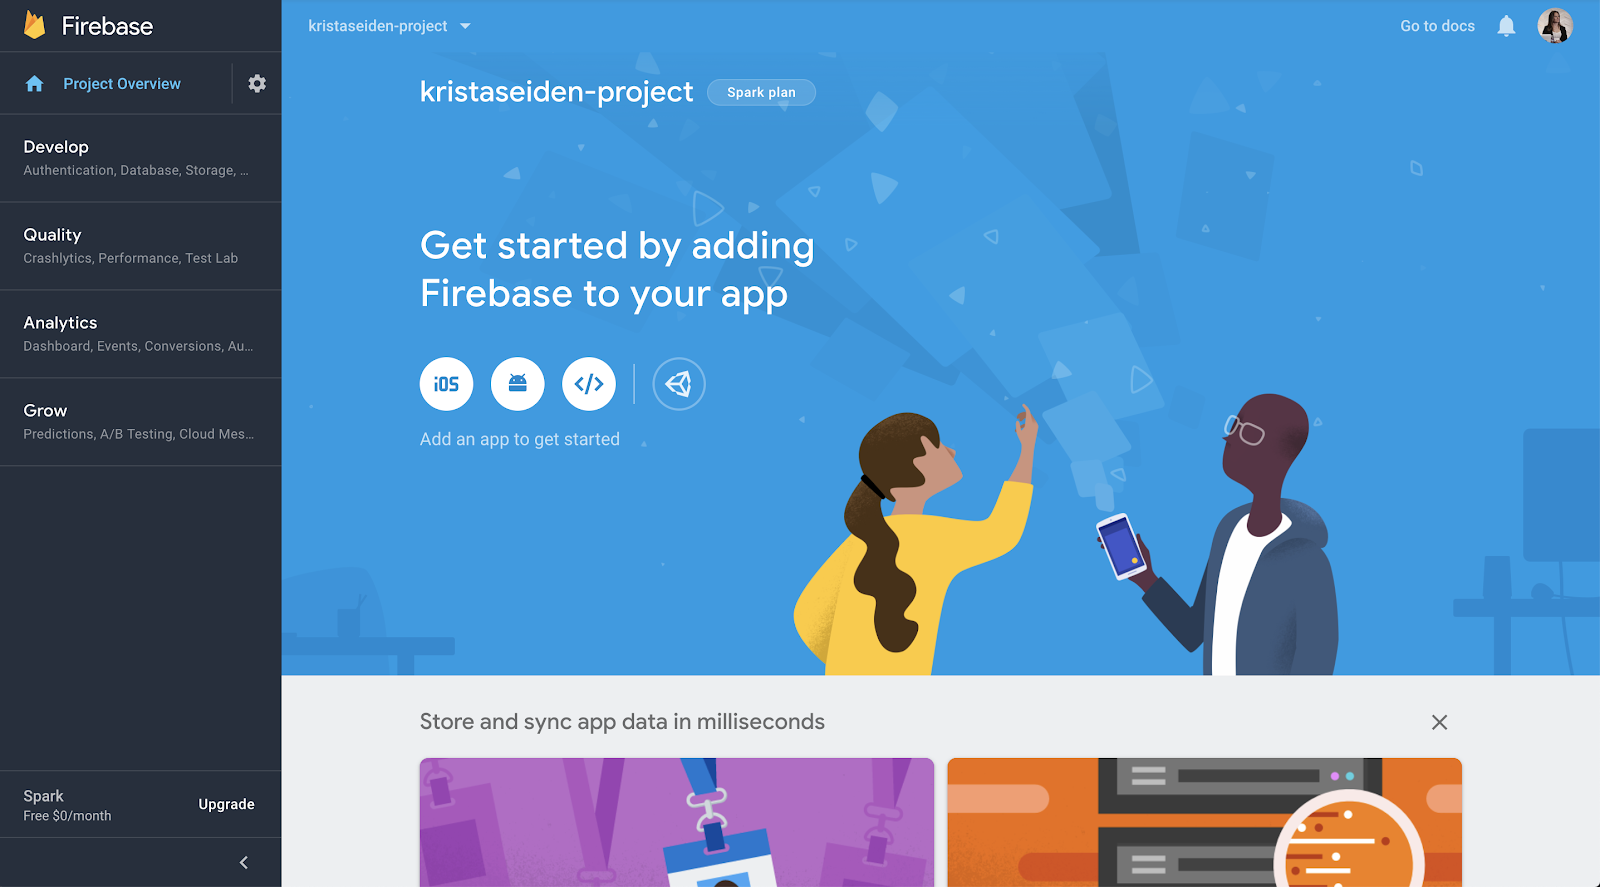
Clicking “Continue” here will drop you into the Firebase console view. This is how you can confirm you now have a Firebase project setup. From here, you can play around in Firebase to see the other cool capabilities here (check out my blog post about GA for Firebase to learn more about Firebase).
Step 2: App + Web Property in Google Analytics
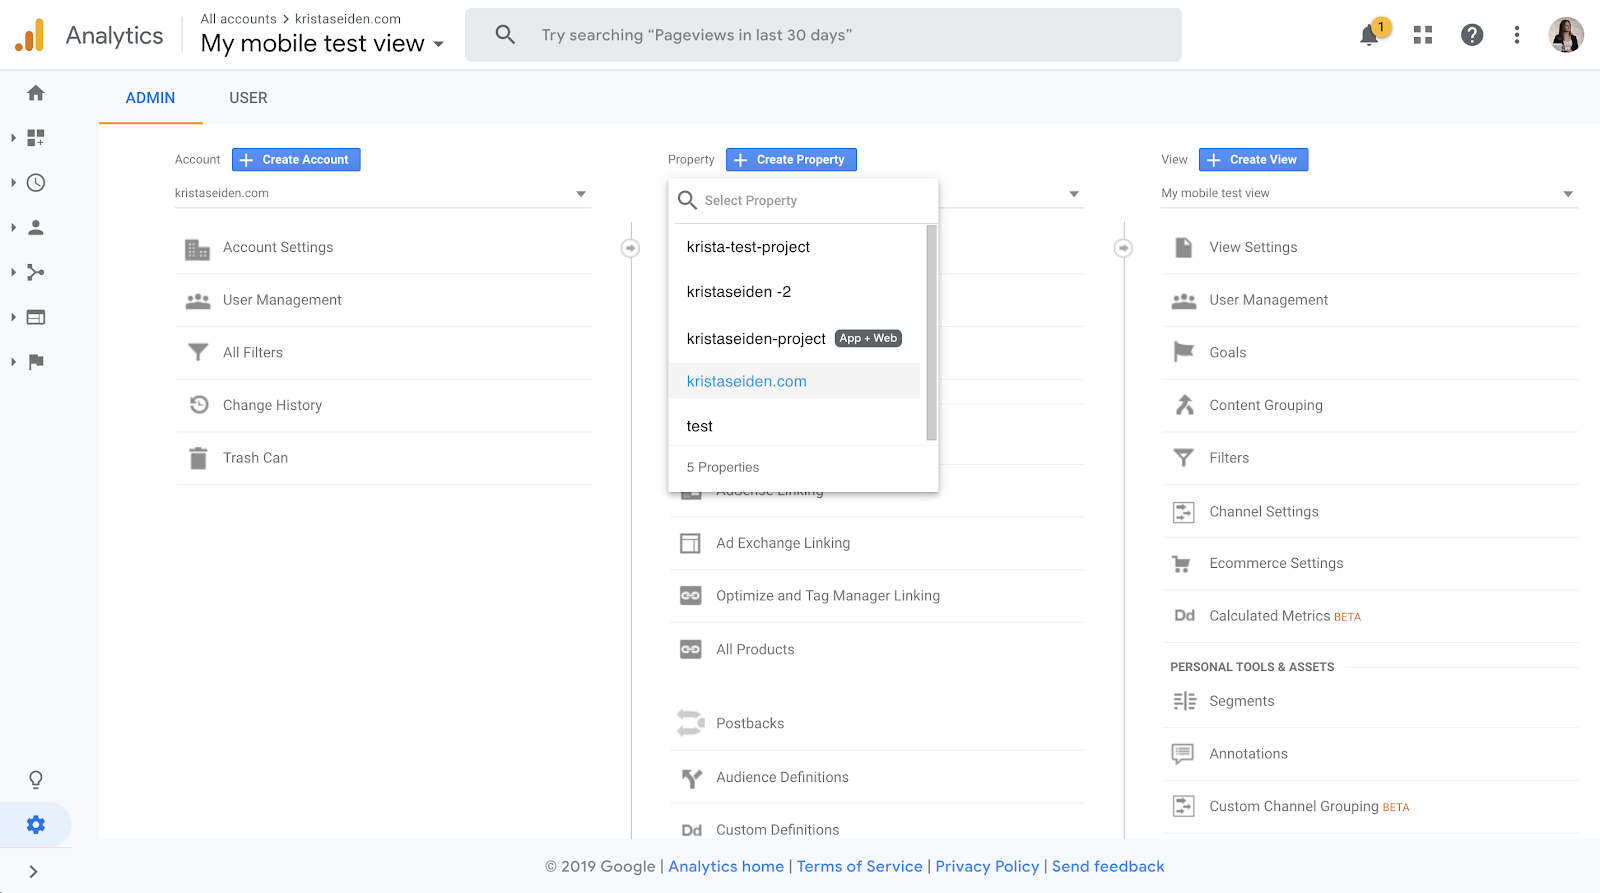
Since I want to continue to configure this project as a Google Analytics App + Web property, I’ll switch over to Google Analytics by opening analytics.google.com in a new tab and will then navigate to the admin section and select my new App + Web property I just created, called kristaseiden.com-project. Since I was in a different property the last time I logged in, I’ll see the new property in the property dropdown list where I can select it.
Once you do choose an App + Web property, note that your admin view will change a bit. You will no longer see the “View” column as there are no Views in this new property (settings and capabilities usually done in View can now be done within the new property, and other reasons, such as creating country specific Views, can be accomplished with a quick Filter in the new property):
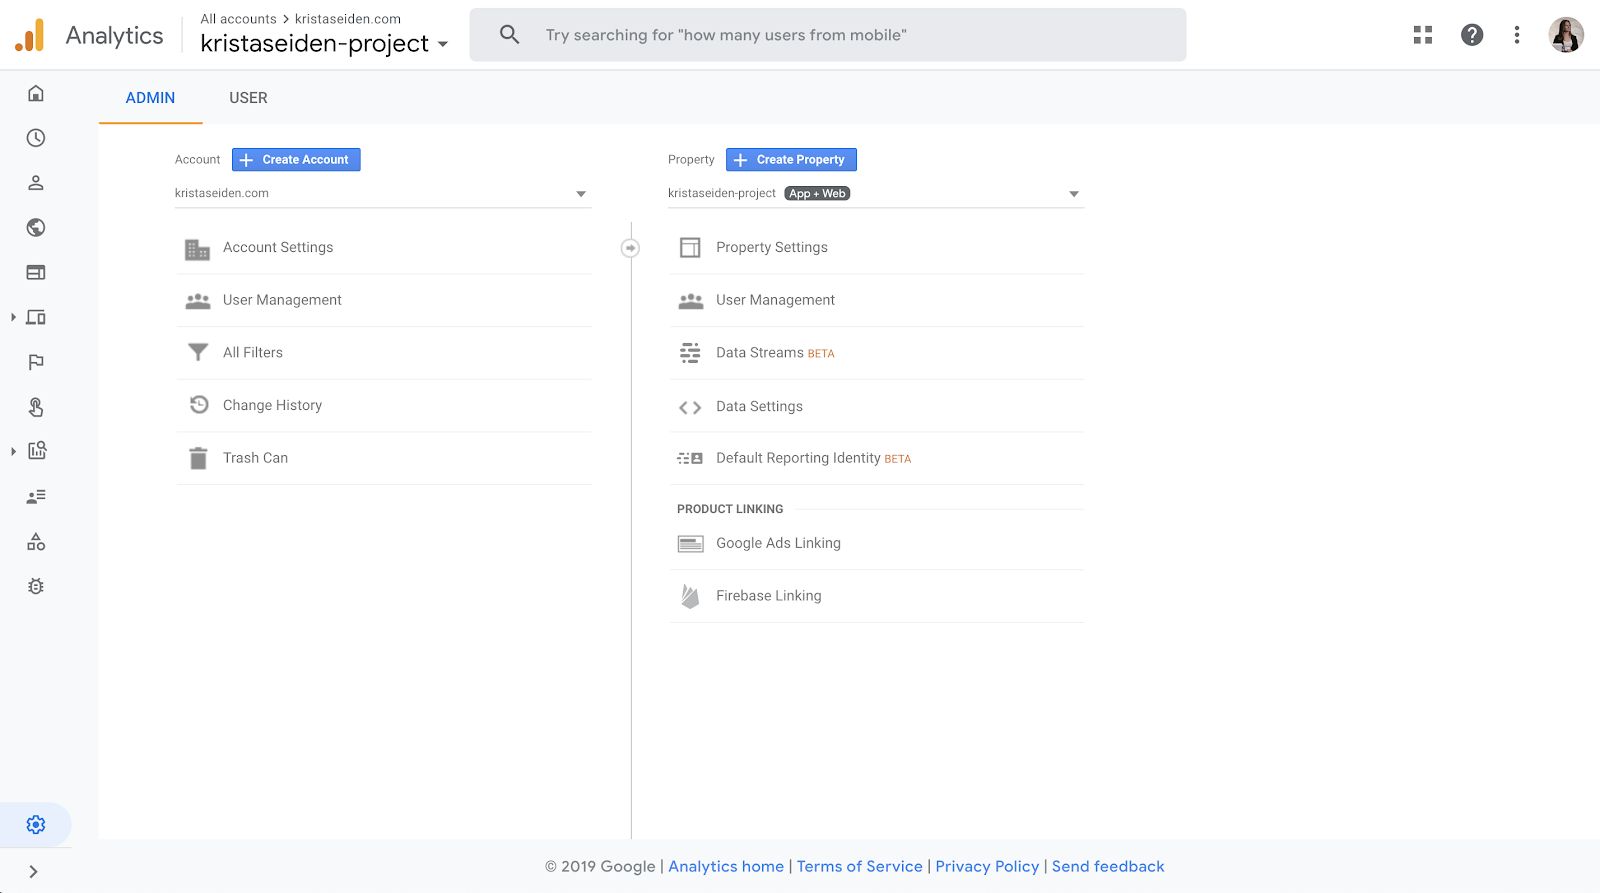
You’ll also notice some other new things about this property. For example, you’ll notice the left hand navigation has changed. Of note, there are actually two different navigations available (for now) in the new App + Web property, one for a view of data that is synonymous with Google Analytics for Firebase (GA4F) / Firebase reporting (shown in my original blog post about the new property), and another option for “Reporting Beta”, which shows a number of new reports aiming to take the new Events & Parameters data schema and apply reporting which feels a bit more like Google Analytics (rather than GA4F) to it.

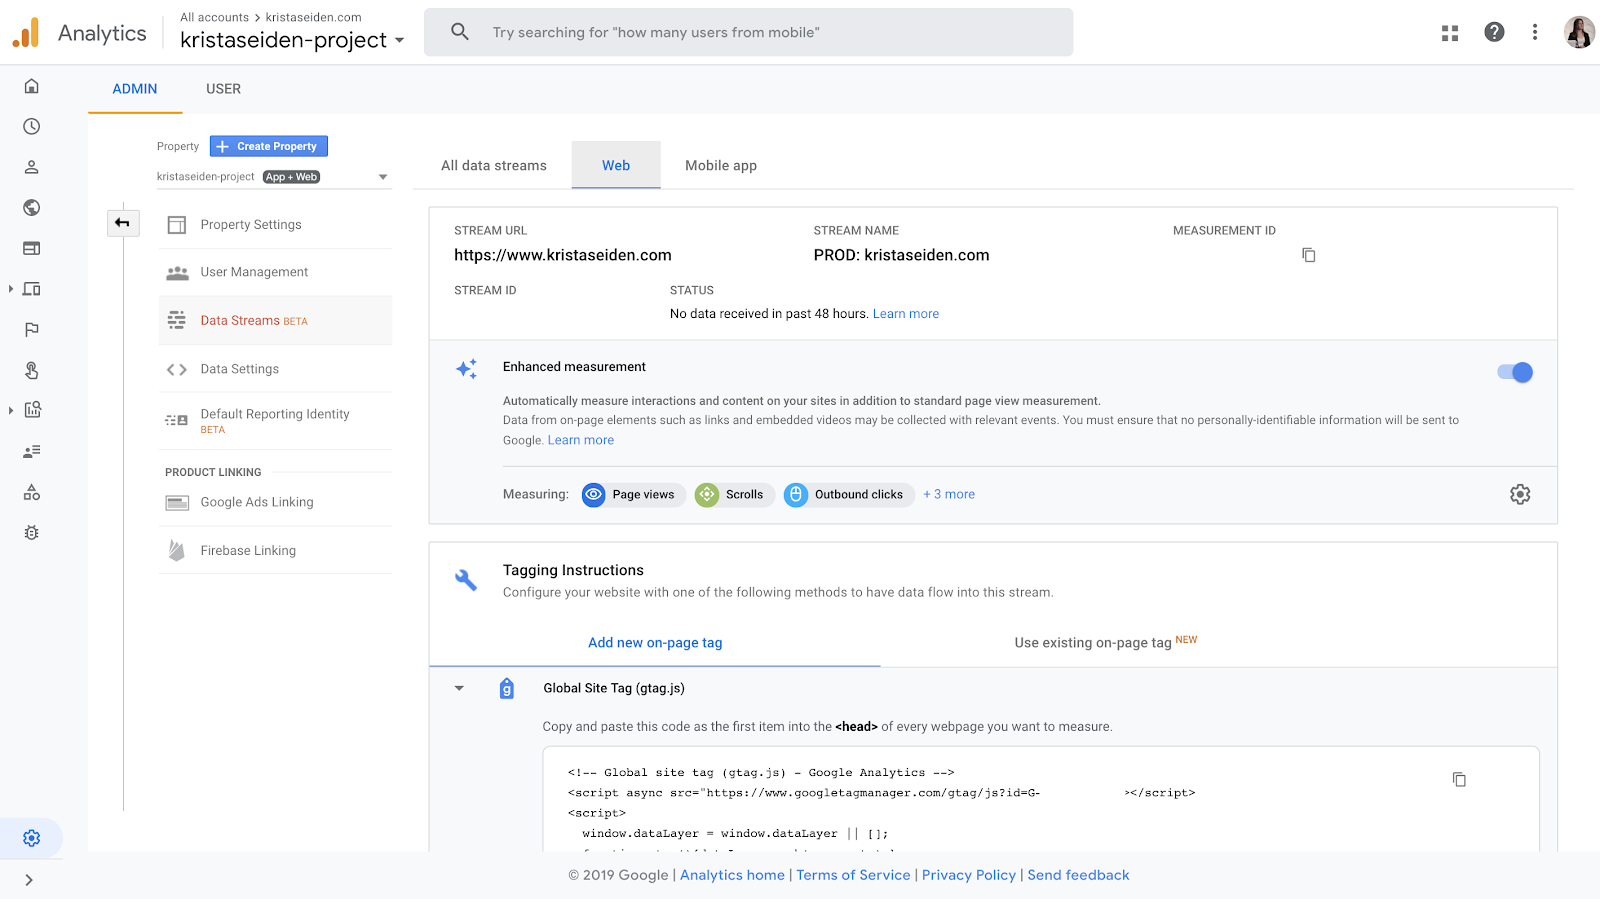
Jumping back over to the admin section, if you click onto the new property within the Property column, and then choose “Data Streams” (new with the new property), you’ll be able to see all of the selections for data to send to the new property. “Streams” is the term Google is now using to indicate different pipelines of data coming into the new property. You can choose iOS app, Android app, or Web, and you can have multiple streams go into the same property (giving the ability for cross-device/cross-platform measurement).

In this case, given I’m just looking to set this up for my personal blog, I’ll choose “Web” which will then open up a slideout window to set up the data stream:

Step 3: Configuring the Data Stream
I’ll fill in the info I want to show here for URL and Stream name, and change the URL to https://
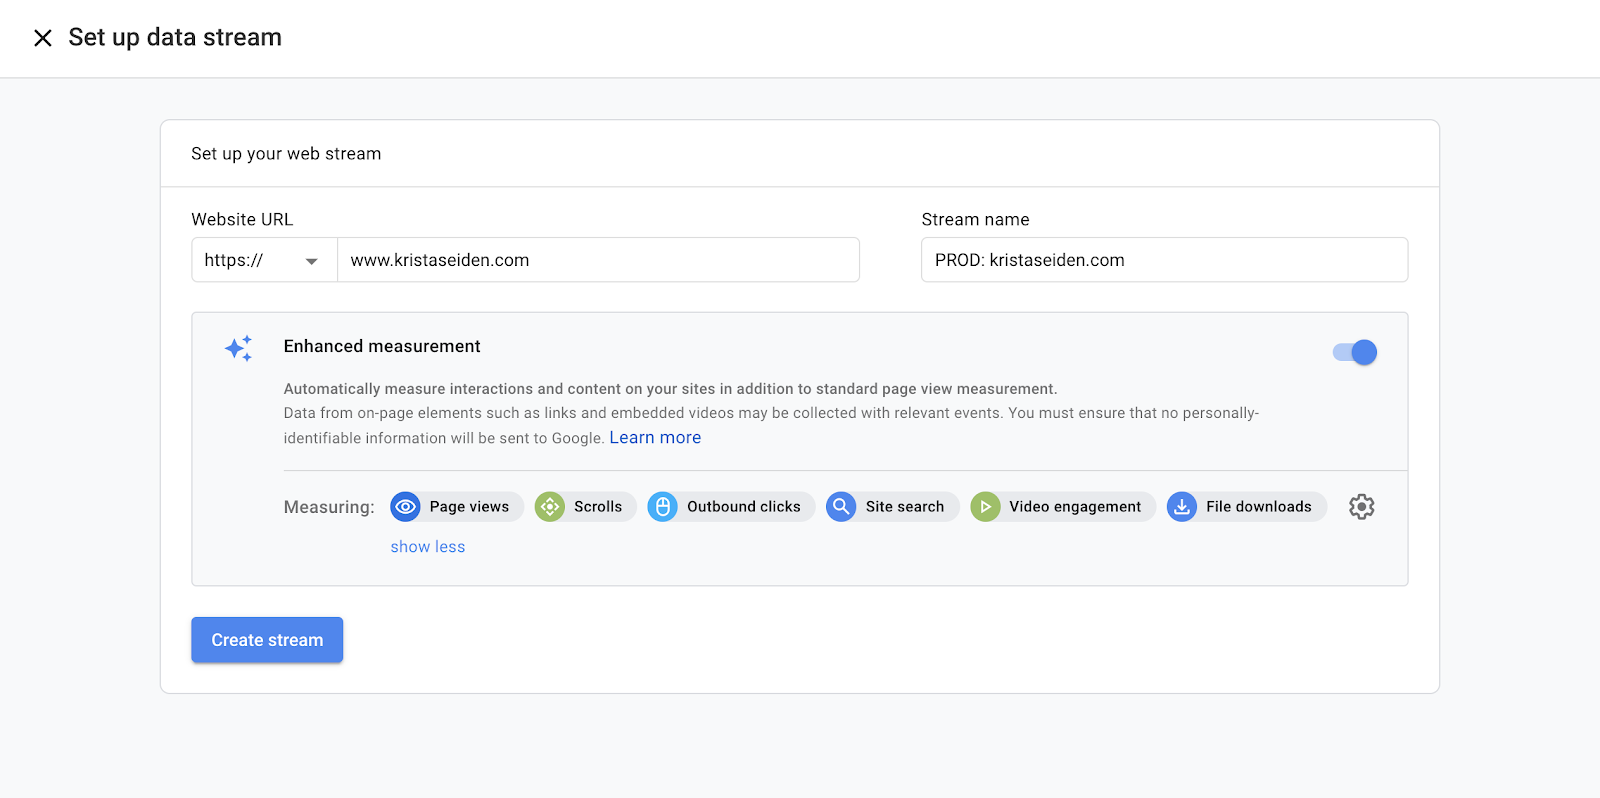
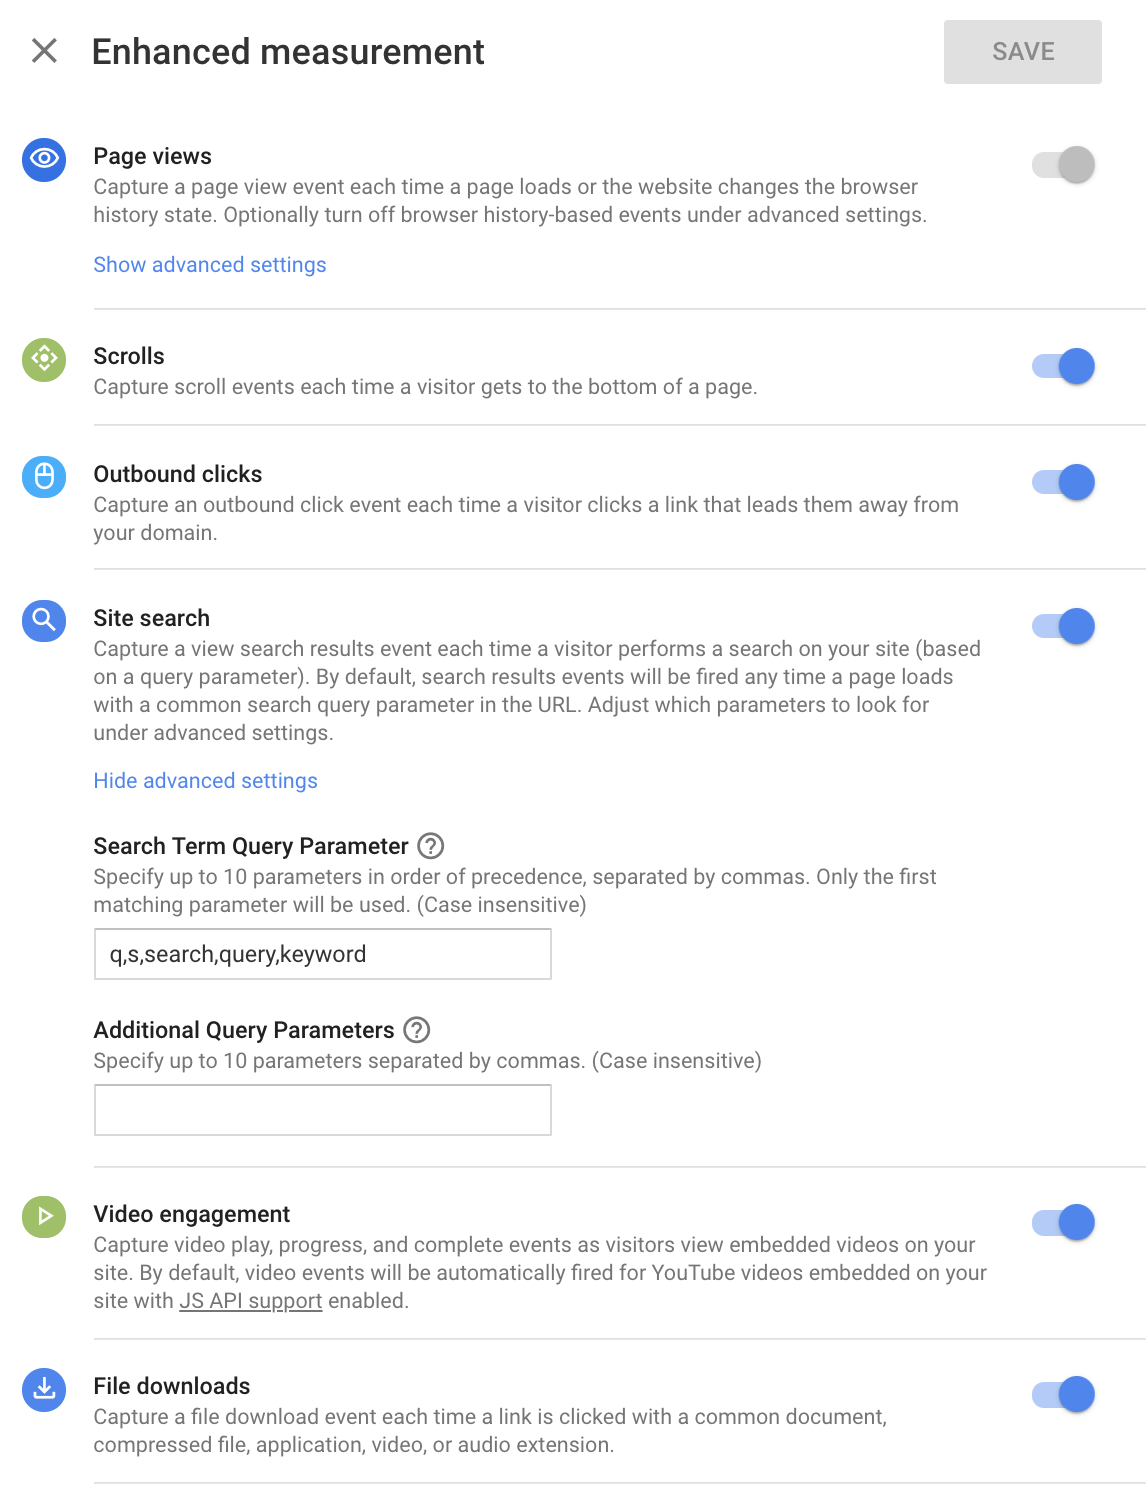
This new property also introduces the idea of “Enhanced Measurement” (which I talked about in my initial launch blogpost). Clicking the settings icon next to the icons show what is being measured will allow you to make changes here. You could decide to toggle off the automatic measurement of these, or for something like site search, if you know your query parameter is different than most of the defaults (automatically entered here), you can input it in this screen. Since I do want to track all of this out of the box, I’ll leave them all selected. I also know that my query parameter for site search is ‘s’, so I’m set with the defaults shown.
Once I’m happy with all of the settings on this screen, I’ll click “Create Stream” which will create the stream info I need, aka the gtag tracking code, which I’ll use to implement on my site (I’ll do this via Google Tag Manager). Note I’ve blocked out sensitive info here for stream/measurement ID from the screenshot:
These are all the steps you’ll need to take to setup your new App + Web property. For even more detail and to dig into the GTM setup for a handful of examples, check out my friend Simo Ahava’s awesome post on Getting Started with GA for Apps + Web.
In my next post, I’ll go into step by step detail for what you need to do to setup the tag in Google Tag Manager to start collecting data into your new property. Check it out here.
That was great.
How do we connect with APK file? Is there blog post to read/understand?
Thanks for your amazing coverage of the new features. I’ve read them avididly!
Thanks a lot for such an amazing post. I have a question to ask: how can you link app+web property with an existing firebase project without having a new app+web property created?
I don’t think an upgrade path has made it live yet, but I’m pretty sure it’s on the roadmap
HI krista,
Thank you so muck for this pretty awesome post. I’ve q question about web+app property.
something about the property level data collection limit , for the UA, there is a limit of 10M hits for a property. Now , for the web+app property as I know , data is collected by GA4F right? So is that means , there is no data collection limit for web+app property ? Thanks in advance for your advice.
Hi Derek,
Data for App+Web is meant to be free and unlimited, just like in GA4F. Quick point of clarification, the data in A+W is not collected by GA4F and then processed into A+W, it is collected and processed straight into A+W properties.
Best,
Krista
How do we track amp pages with Web + APP Config?
I’m sure this is still being considered in the roadmap
So far I’m not able to get metrics for App+Web. I only have a website right now and will add an app (in the form of a Chrome extension) later. Here’s what I’ve done so far:
1. Created App+Web property and set up web data stream.
2. Inserted the Global Site Tag (gtag.js) snippet into the of website.
I hope it was as simple as these two steps. However, in GA I see this message:
“MyNewAppPlusWebProperty (UA-0-0)
This property has no views. Click here to create new views or delete this property.”
If App+Web has no views, why does it show the message above? Totally confusing :|.
Hi Tommy,
Did you use the Measurement ID associated with the App+Web property when you added this snippet to your site? You can find this under Admin –> Data Streams –> Select your web data stream –> follow tagging instructions on that slideout.
Once that is implemented, you should start to see data roll into your new App+Web property.
Best,
Krista
I am not able to set the Goals in the analytics for my a client while I used the web stream but there is not any options for property views. How could be solve it problem?
Goals don’t exist in GA4, but “Conversion Events” do and should be used as a substitute here. Check out my article on Creating Events & Conversions in GA4 for more info.