Custom Dimensions in Google Analytics 4 are a great way to add more in-depth data to the events you are collecting. They are basically a dimension (or a metric if you are setting up a Custom Metric which follows the same steps as below) that you have created yourself. Essentially, they are additional pieces of data that you are sending to Google Analytics 4 as parameters that you then configure as custom dimensions in your GA4 interface.
Google Analytics 4 gives you the power to collect and analyze data that it typically doesn’t automatically generate itself. Custom dimensions are not only super simple to set up but they’re a great way to get deeper insights about the events being collected on your site.
In this article, you will be guided through the straightforward, easy and quick process of how to create your very own custom dimensions.
1. Go to the Configure Section:
The very first thing that you’ll need to do is click on the ‘Configure’ section. You’ll find this on the sidebar, under ‘Advertising’. You’ll need to choose the ‘Custom definitions’ option, where you’ll land the custom dimensions page.
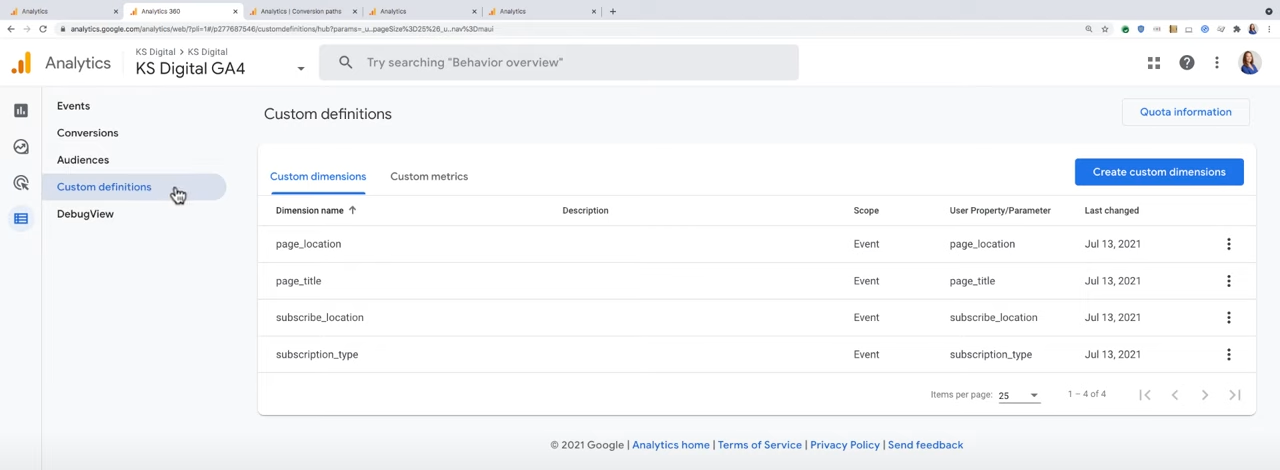
If you’re wanting to create a metric instead of a dimension then just click on the ‘Custom metrics’ button, next to ‘Custom dimensions’.
2. Choose the Event Parameter:
Next, click on the ‘Create custom dimension’ button in the top right-hand corner. You’ll see a white box appear on the side of your screen, and there will be a few things that you need to fill out.
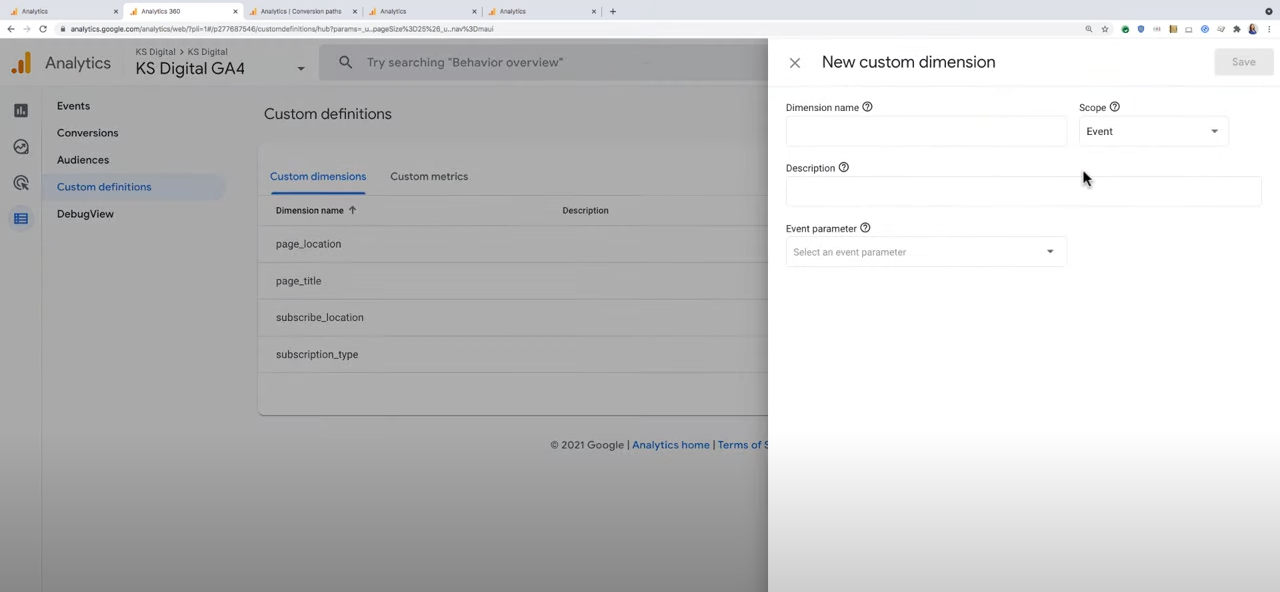
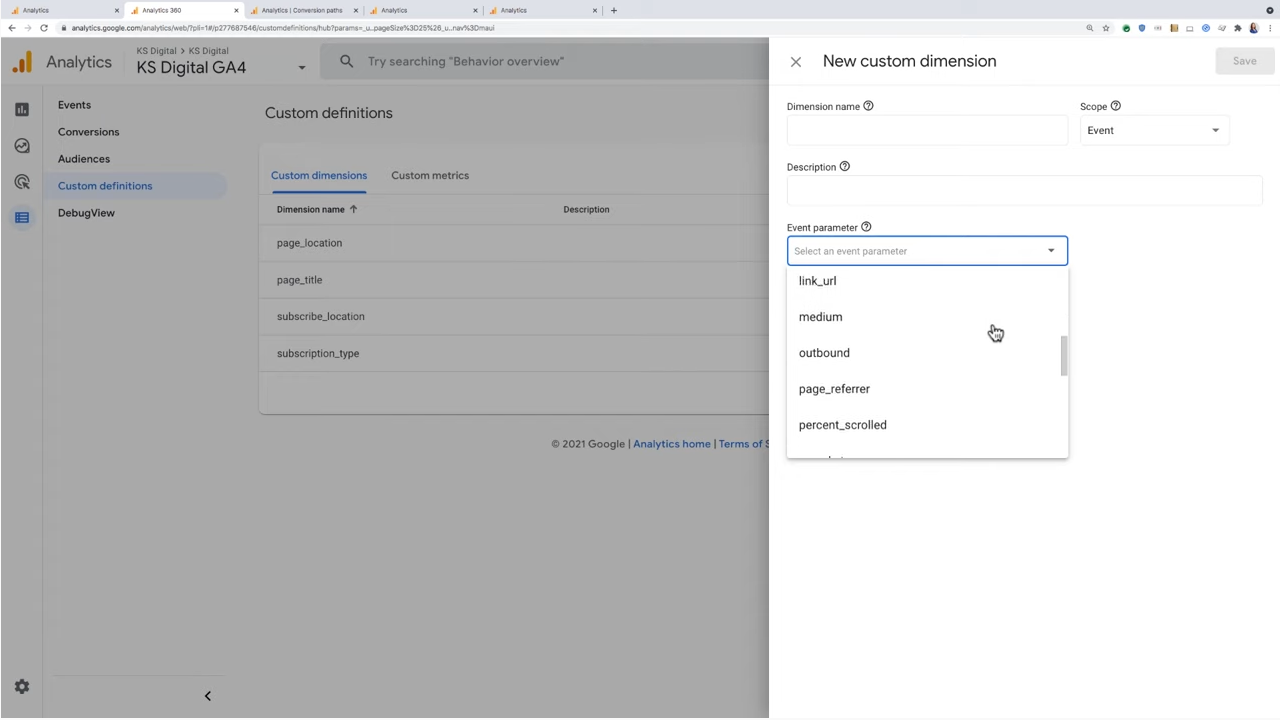
I suggest you can start off by completing the bottom box; ‘Event parameter’, because this drop down will show you all of the available event parameters that you have that can be turned into Custom Dimensions.
3. Give It a Name and a Description:
Next, we need to give this dimension a name and a short description. To avoid unnecessary confusion, I suggest that it is best to use the same name as the parameter under ‘Description name’. This way it’s easily recognizable and identifiable, so you’ll know instantly what this custom dimension is.
Before moving on to the description, let’s quickly mention the ‘Scope’. You must choose an appropriate scope, which in this case is an Event. Note that this is different than ‘Scope’ in Universal Analytics where your choices were User, Session, or Hit. In GA4, your choices are Event or User scope.
Next, you can click on the ‘Description’ box, where you’ll briefly describe what the custom dimension is used for. You only need a short description that explains the purpose of this dimension.
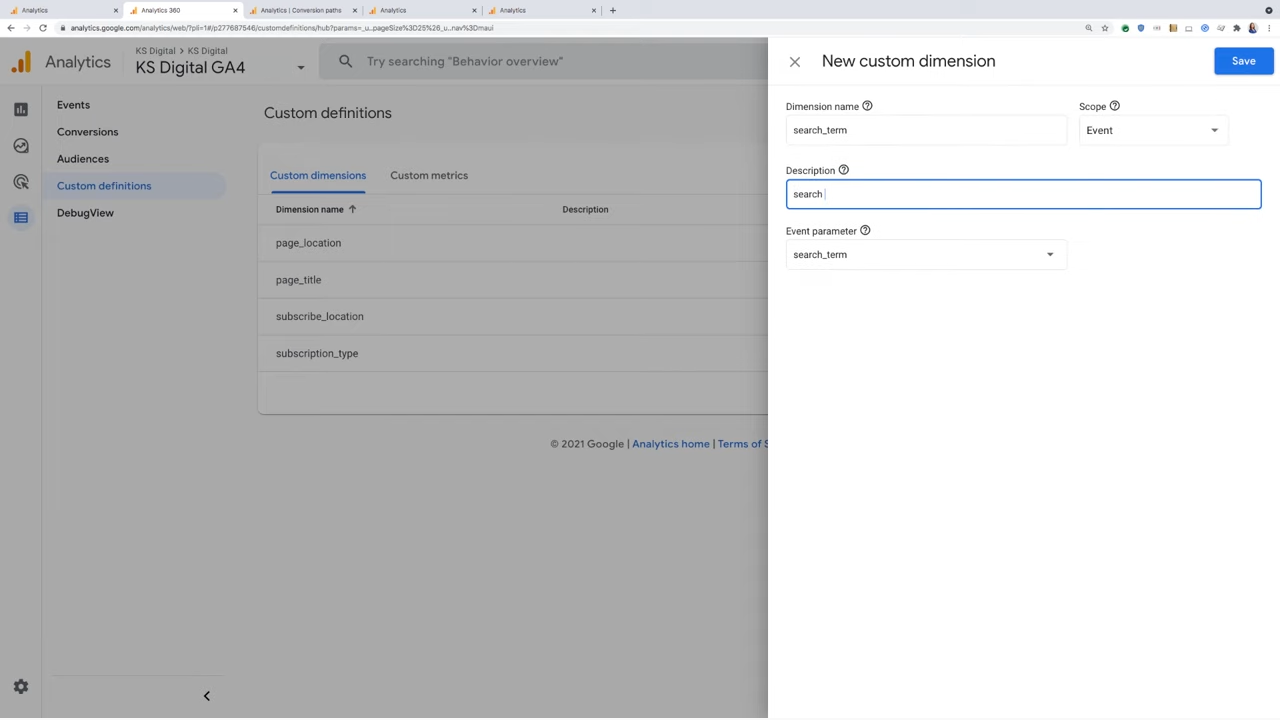
4. Don’t Forget to Save!
Now it’s time for the most obvious and final step; save your dimension. Always remember to click on that blue ‘Save’ button in the top right-hand corner. You don’t want to repeat this process unnecessarily.
You have finally created your custom dimension! You’ll see this new dimension amongst your others under the list of ‘Custom dimensions’. This means that you have officially registered it in your property to be used throughout the reporting and Explore interface.
It really is as easy as that! If you want to watch a step-by-step video overview to get an even better understanding of this process, then check out my YouTube clip below, where I’ll show you exactly how to create a custom dimension in GA4.
Eager to learn even more about Google Analytics 4? Then take a look at https://ksdigital.co/academy/ where you’ll find an array of course options to enhance your skill set in GA4.
2 thoughts on “Setting Up Custom Dimensions in Google Analytics 4”