Step-by-Step: Setting Up Your Google Optimize Account and Container
Optimize is Google’s new A/B & Multivariate testing tool. The free version is rolling out in Beta now (sign up here to receive your invitation) and is a great tool to start your Optimization efforts.
To begin using Optimize, you must first setup your account. This requires a few key steps, which I’ll go through in detail below.
Step 1. Follow the link in your email invite to get to optimize.google.com. You’ll be taken to the below screen with the CTA ‘Get Started’.

Email invite to Google Optimize
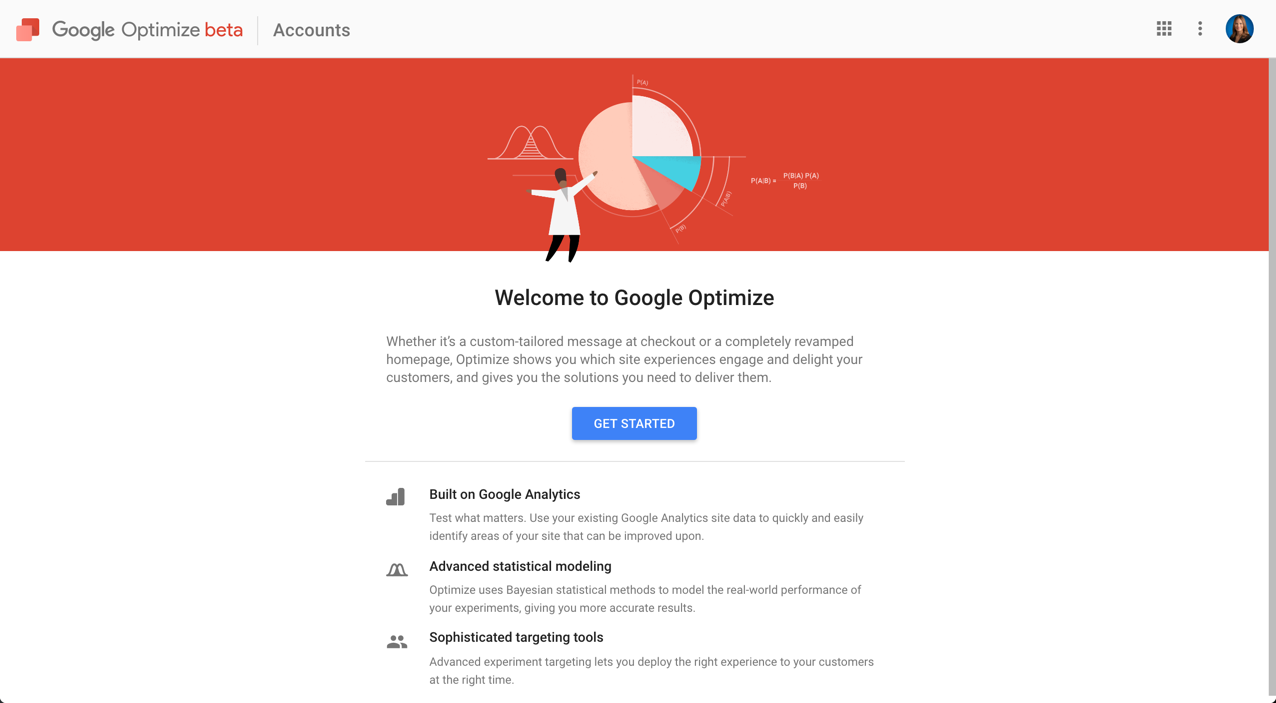
Google Optimize Welcome Screen
You’ll then be taken through a couple of screens to choose your email and data privacy settings:
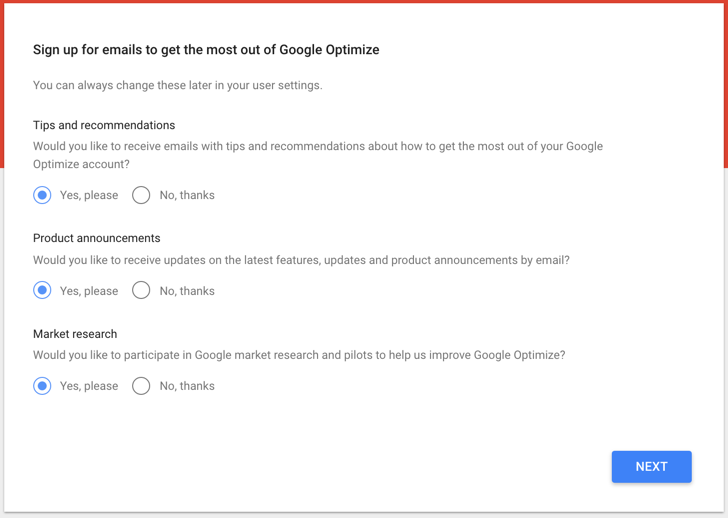
Email preferences. I suggest saying Yes to all to stay up to date on announcements, training, etc
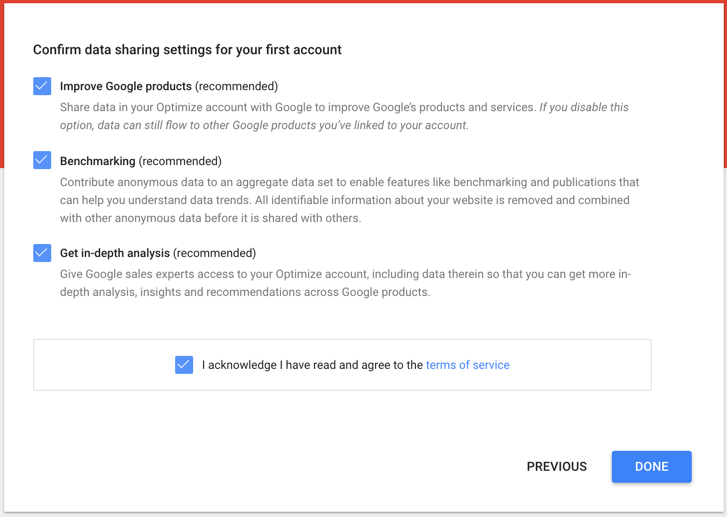 Data sharing preferences. I suggest saying Yes to all
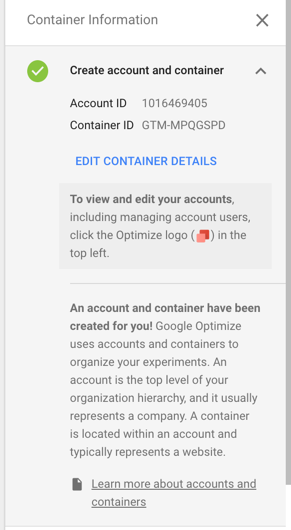
Step 2. After setting up those preferences, you’ll be taken to an overview screen where you’ll see an option to Create Experiment. On the right hand nav bar, you’ll see a 5 step check-list that is defaulted to Step 2. Step 1, ‘Create account and container’ has already been green-lighted. That’s because Optimize has setup a default Account and Container for you called ‘My Account’ and ‘My Container’.

If you click into Step one, you’ll see this note telling you these have been created for you:
Step 3. At this point, you are setup and ready to create an experiment in the Optimize editor. However, I’d recommend editing the default names for the Account and Container to be descriptive for your company and business needs. To edit this information, follow the directions to click the Optimize logo in the upper left hand corner to go to the Account overview page:
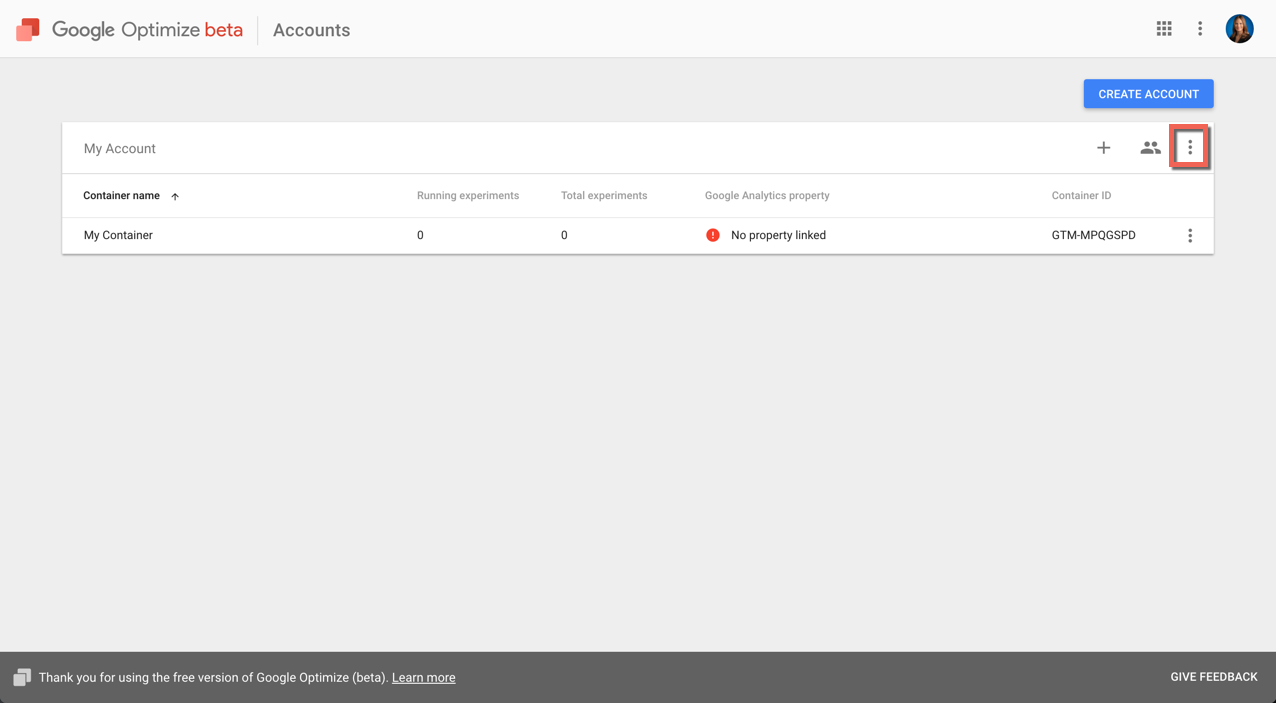
Click on the three vertical dots on the first line called ‘My Account’ and select “Edit account details”. As you can see below, I’ve changed the account name from ‘My Account’ to ‘kristaseiden.com’ to signify that this is the account for my blog. Click save to go back to the Accounts overview page.

Step 4. Next, click on the line titled ‘My Container’ to go back into this container. In the right hand nav check list, again select the first line and click on the blue text that says ‘Edit Container Details’ to change the name of the container. I’ve renamed ‘My Container’ to ‘Digital Debrief – Blog’ which is the name of this blog. Click save.

That’s it! Now you’re setup with an Optimize Account and Container that have been personalized for your business.

Pingback: Digital Debrief – Step-by-Step: Linking Your Google Analytics and Optimize Accounts and Installing the Optimize Snippet